


Applying A Bake-On Firearm Finish
This article, “Gunsmithing Know-How: Applying A Bake-On Cerama-Coat Finish,” appeared originally in the January 2007 issue of American Rifleman. To subscribe to the magazine, visit the NRA membership page and select American Rifleman as your member magazine.
In years past, there was a “Henry Ford attitude” about refinishing the metal on a gun. You could have anything you wanted as long as it was bluing. Today’s hobby gunsmith has a much wider range of options. Spray-on coatings are easy to apply, durable and good looking. They provide a layer of protection for the metal, and they often have multiple color options.
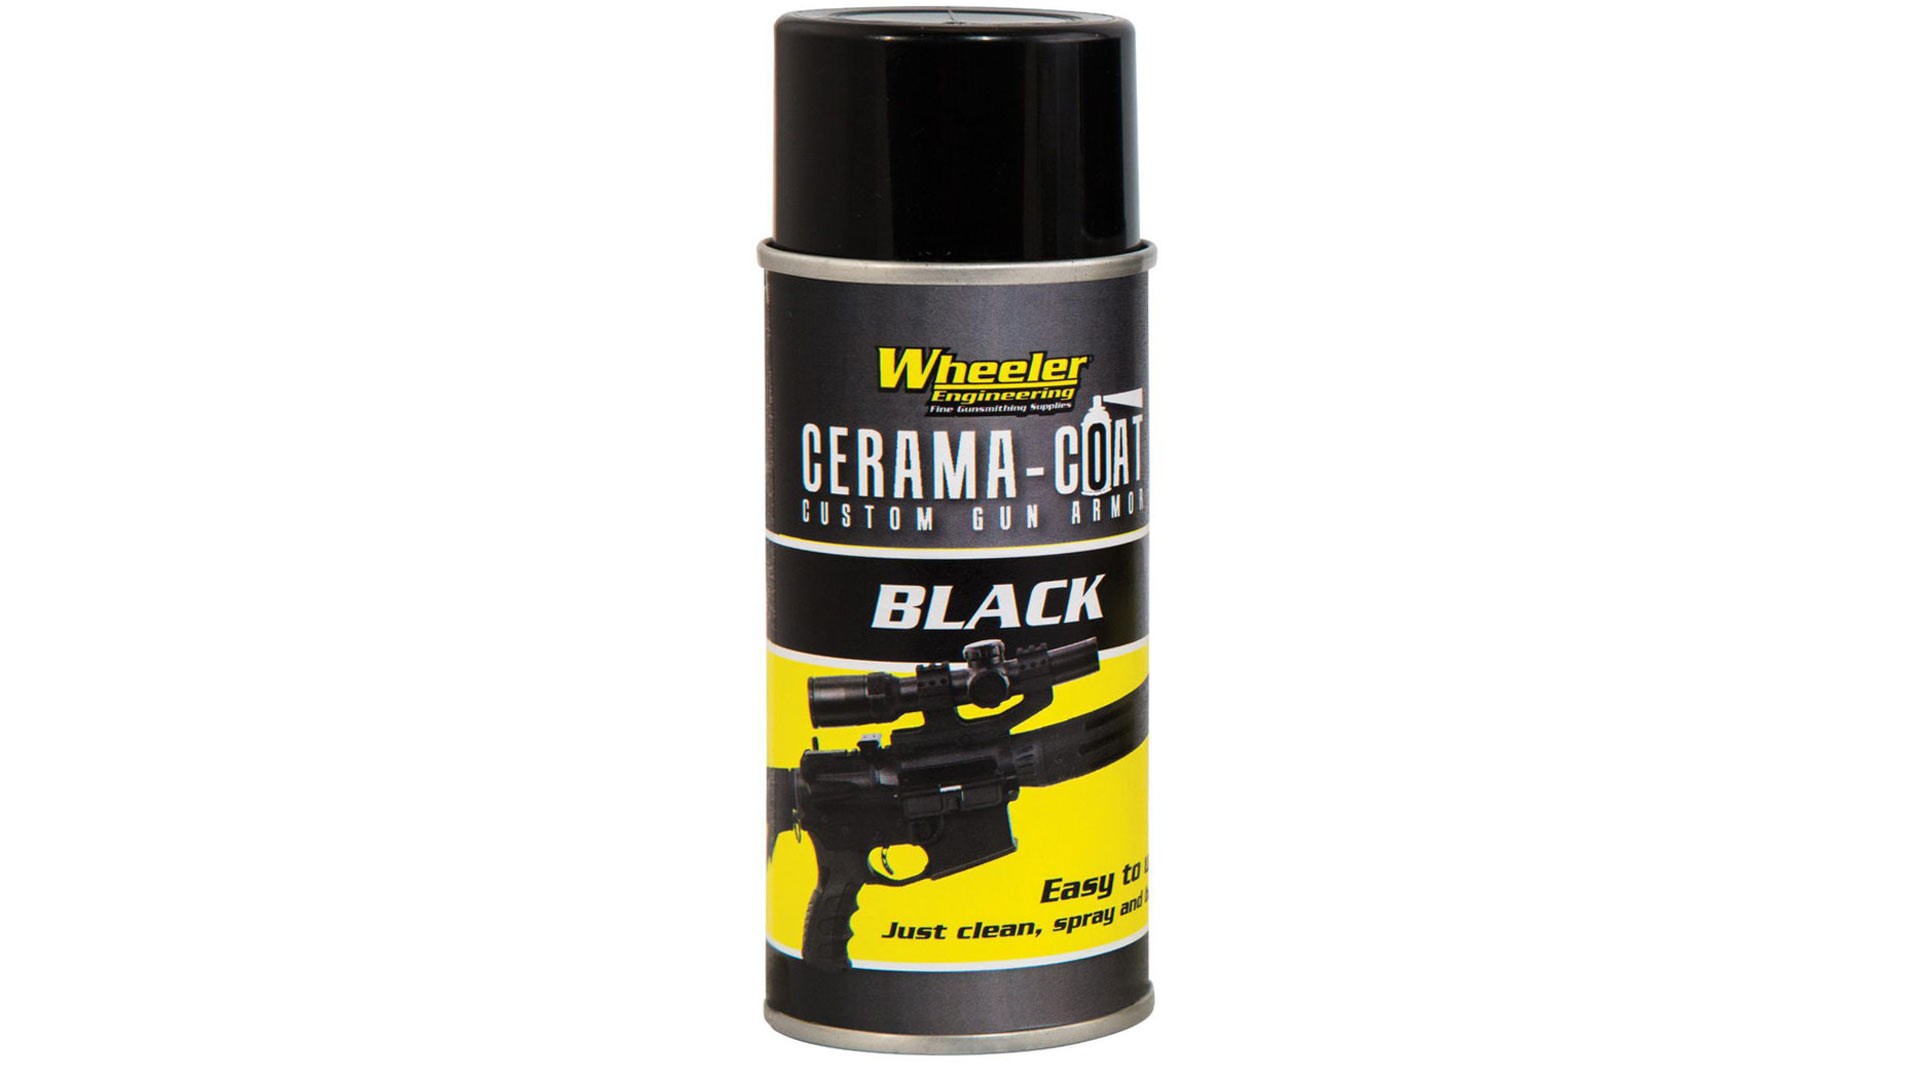
Ceramic coatings such as Cerama-Coat from Wheeler Engineering are some of the toughest and most durable finishes available. Cerama-Coat is a flat-black bake-on finish that is cured by heat. Any constant and controllable heat source will work, even the kitchen oven. However, there is a definite odor associated with the use of this product that might not appeal to your wife as much as it does to you.
- Buy All-American!
- Bring health and vitality back to your body with these non-transdermal patches
- Get your Vitamin B17 & Get 10% Off With Promo Code TIM
- How To Protect Yourself From 5G, EMF & RF Radiation - Use promo code TIM to save $$$
- The Very Best All-American Made Supplements On The Market
- Grab This Bucket Of Heirloom Seeds & Save with Promo Code TIM
- Here’s A Way You Can Stockpile Food For The Future
- Stockpile Your Ammo & Save $15 On Your First Order
- Preparing Also Means Detoxifying – Here’s One Simple Way To Detoxify
- The Very Best Chlorine Dioxide
- All-American, US Prime, High Choice Grass-Fed Beef with NO mRNA, hormones or antibiotics... ever!
To avoid problems, I simply bought a large toaster oven. It cost less than $100, which was far cheaper than a divorce lawyer. Mine is big enough to handle handguns as well as actions and frames from rifles and shotguns. In fact, it will handle just about anything gun related, except a rifle or shotgun barrel.
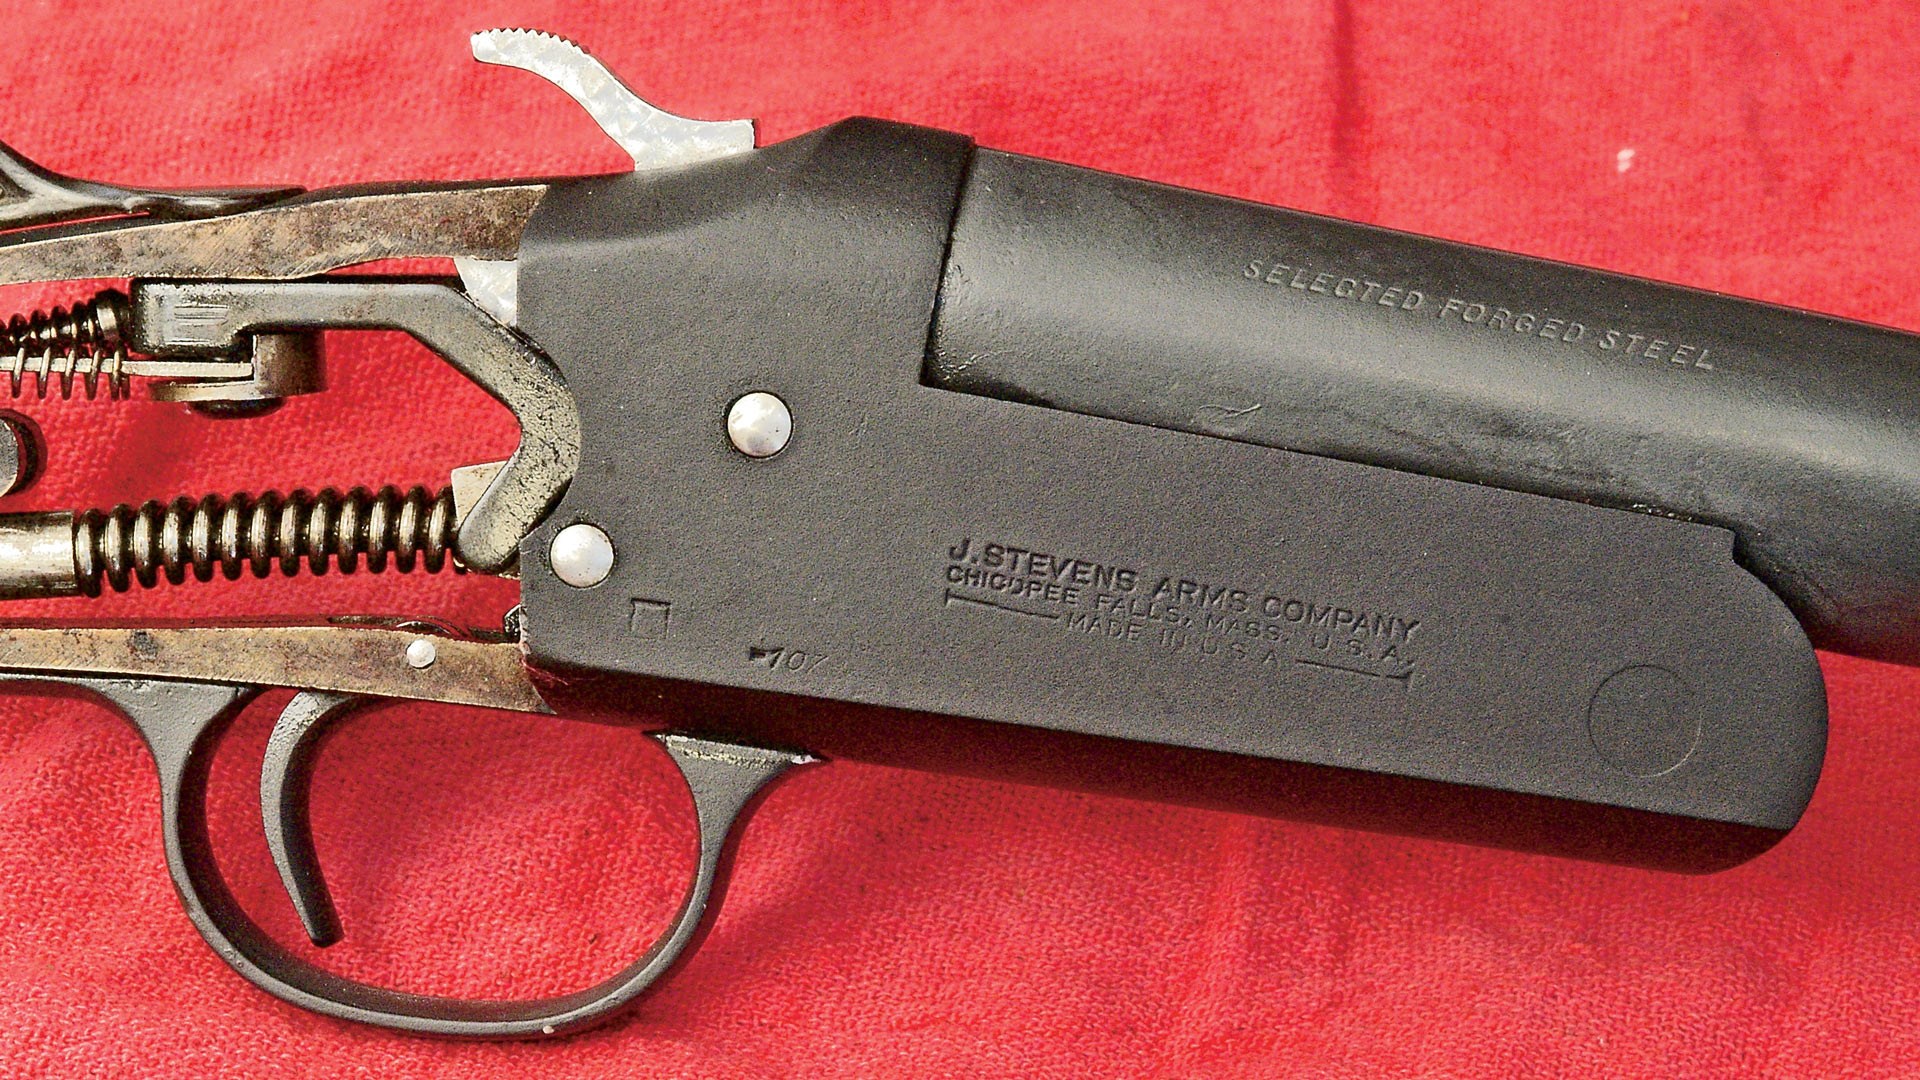
I recently found a good bargain on an old single-shot 12-gauge shotgun. While the bore and working parts are fine, this was clearly a “barn gun,” common to my area back when farming was a bigger part of our economy. These guns were used to shoot rats and other pests and usually stood in a corner, neglected, until they were needed. The outside of the gun looked terrible; the barrel and frame were pitted and rusted. The stock was cracked and dented, and the recoil pad was installed by a guy with a dull knife and little skill. To me, it looked like a perfect candidate for a makeover. The first step was to refinish the action using Cerama-Coat.
Cerama-Coat adds to the dimensions of any part that is coated, so it should not be used on any critical-fit or moving parts, nor should it be used on any surface that other critical-fit parts move against.
Strip the part to be coated—in this case the frame—then degrease it, and clean off all dirt and grime. Remember, with any refinishing job, the better the preparation, the better the final result. All old rust and corrosion must be removed. Light rust can be removed with steel wool. But for the tough jobs, use a commercial rust and bluing remover.
Follow with sanding to rough-up the surface. Don’t try to polish the metal to a smooth surface. Cerama-Coat can be applied over bluing, Parkerizing or anodized finishes. However, it’s a good idea to rough-up any surface with sandpaper before applying it. It can be used on any metal that can withstand the heat of baking, but is not for plastic or wood. For obvious reasons, it’s not for use on optics, either.

I degreased my shotgun frame and then sandblasted the surface. This removed the rust and helped to hide most of the pitting. Sandblasting also roughs-up the surface so the coating will adhere better. While it’s not necessary to sandblast before using Cerama-Coat, it is a fast and easy way to prepare the metal surface, and it leaves an ideal surface for coating. I have a blasting cabinet in my shop, and it’s one of the best investments I have made. However, a simple sandblasting gun is inexpensive, and if you are blasting only once in awhile, it might be more economical to simply consider the abrasive as a “consumable” and work outdoors without a cabinet to recover it.
Tape off any areas that you don’t want to coat. Now make a hook with a piece of wire to suspend the part in your oven, and test it to make sure you can easily suspend it without any of the coated surfaces contacting the oven or rack.
Hang the part from the wire outside or in a well-ventilated area and spray well with degreaser like Tipton Insta-Clean, letting it run off. Let the part dry, then repeat, again letting the degreaser run off the part, then air dry. Do not touch the part with your fingers.
Suspend the part in a well-ventilated, dust-free area. I simply use a long hanger on the peg board behind my workbench and a wire. Then I cover the bench with newspaper. Shake the Cerama-Coat for at least a minute after the ball starts rattling. Make sure to time yourself to get the benefit of completely mixing the paint.
Do a couple of test sprays on the newspaper to get a feel for the spraying process. Now spray a thin, even coat on the part. Several thin coats are far better than a single thick coat. Let the coating dry for at least 30 minutes. Actually, this allows the volatile carrier agent to flash off, as the coating does not actually dry. After 30 minutes, apply another thin coat. Let it dry, and if necessary, apply a third coat.
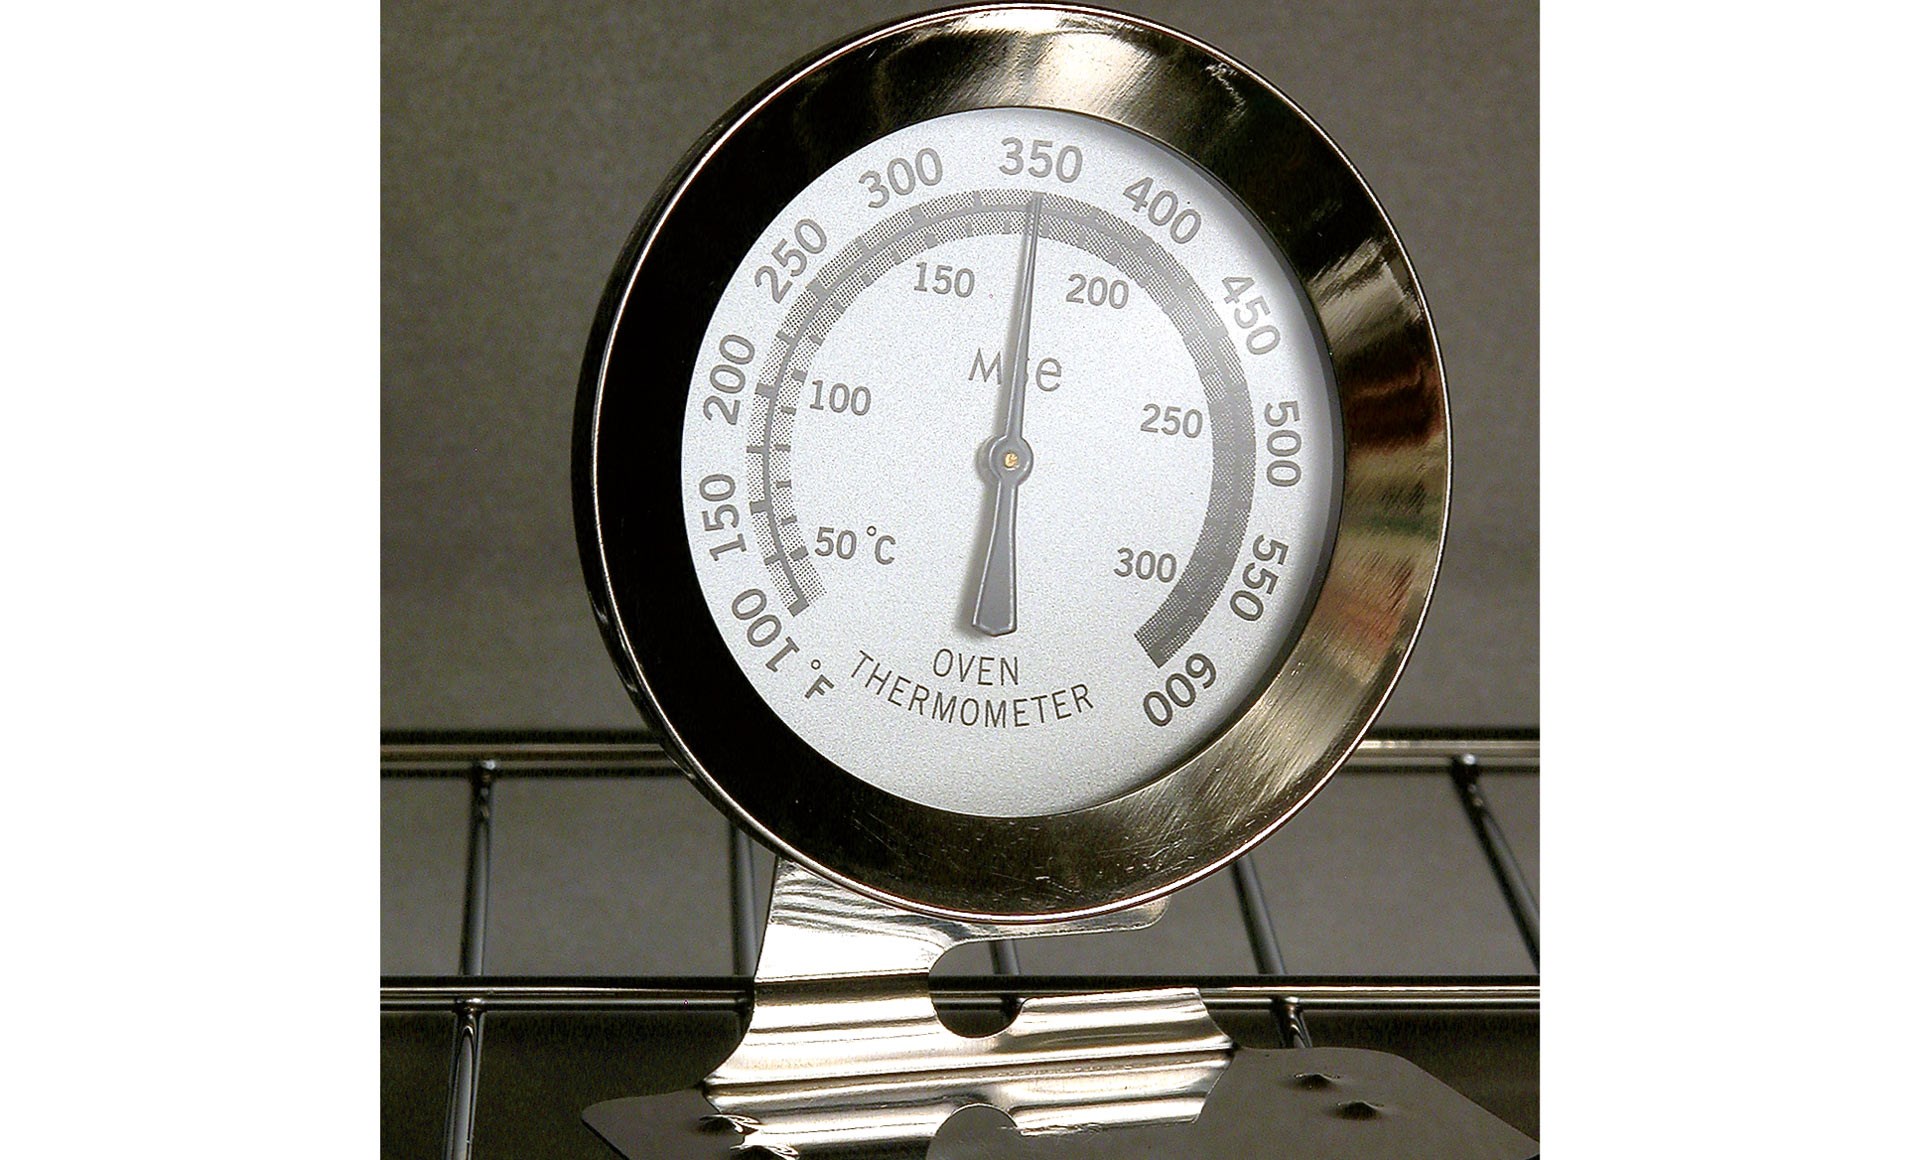
After the final coat has dried for at least 30 minutes, the part can be baked to cure the finish. Pre-heat the oven to 350º F. It’s a good idea to use a thermometer rather than relying on the oven’s temperature setting to be accurate. Carefully suspend the piece in the oven, making sure that none of the coated surfaces touch anything. Bake at 350 degrees for one hour. Do not try to rush this by using a hotter temperature, as that can cause the finish to burn and change color. Also, make sure to bake for the full hour, as less time or lower heat may cause the coating to not set up properly.
At the end of the hour, remove the part from the heat and allow it to cool. Reassemble the gun and you’re done.
The Stevens shotgun refinished by the author exhibited a great deal of rusting and corrosion before it was refinished. After sandblasting and degreasing, the frame is now ready to be coated. Areas not to be coated have been masked off with tape. When spraying the Cerama-Coat, it is best to suspend the parts to be coated. Several thin coats will produce a more even and attractive finish than one thick coat. The oven should be pre-heated to 350° F. Curing should never be done in the kitchen oven, because heat will release trapped paint fumes that will then wind up in your food. To avoid this danger, the author purchased a small toaster oven at a discount store for less than $100. The author’s shotgun now has a protective, if somewhat utilitarian, finish after the application of Wheeler’s Cerama-Coat.
Article by BRYCE M. TOWSLEY


